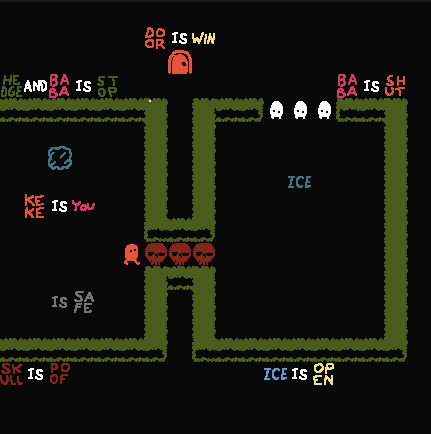
Baba Is You Level Editor
This subreddit is for the discussion of the hit indie game, Baba Is You. Buy the game on:RULES:Rule 1: Offensive remarks: Do not purposely make offensive remarks about a person's or group's identity, e.g.
Baba Is You will get a level editor in 2020, and it'll feature online level-sharing! More details will come later about the exact details #babaisyou pic.twitter.com/2uxIxkVSU2 November 16, 2019. For Nintendo Switch on the Nintendo Switch, a GameFAQs message board topic titled 'Whoa! Baba is You is getting a level editor' - Page 2. State of mind game.
Since the level editor isn't really finished yet, learning the controls to it isn't exactly user-friendly or intuitive. So, here's what I know of it so far:. To place an object, click on the 'OBJECTS' menu on the top right, pick what you want to place with the left mouse button, and place it in the level with the left mouse button again. To change the layer you're placing objects on, left click on either 1, 2, or 3 at the top.
This allows you to place multiple objects on the same tile. To pick an object already in the level to place, make sure you have the layer it's in selected, then right click it. To erase objects, you need to use the picker tool in the point above. The 'empty' tile in the top left of the object menu can't actually be selected.
To change the direction an object is facing, make sure you're on the right layer, then hover over it with the mouse cursor, and pick its direction using the arrow keys. To move everything in the level in relation to the level bounds, use the WASD keys. To change the size of the level, left click on the 'MENU' button at the very top right, then left click on the dimensions you want at the bottom. I would recommend not using '52X30' (the biggest one), as this crunches everything's textures to an unappealing resolution.
To change the level's coloration, left click 'CHANGE LEVEL PALETTE' on the menu from the above point, then left click which one you want to use. You can also set this through 'CHANGE LEVEL THEME'. You can create themes in the world's level list. To change technical settings for the objects in the object menu, left click 'OBJECT SETTINGS' in the level menu. I wouldn't recommend using this unless you know what you're doing.
To get experience, you must earn it.This is one of the more interesting aspects of Mantis Burn Racing. Where most games simply give you a boost gauge that can be utilized at a button press, it is usually available from the beginning of the race, and is generally just on a timer or limited in a realistic fashion (how many bottle of NO2 are hooked up to your customized car?). To use your boosts, you’ll need enough experience. Mantis burn racing wiki.
This can also be set through themes. To change settings for the level itself, left click 'MAP-RELATED SETTINGS' in the level menu. This allows you to specify whether the level is a map or a regular level, change settings for if it's a map, and specify what level to return to once beaten (like a regular level to its map). To place a path for a map, you first need to left click the 'SET PATH' button at the bottom. In order for it to be usable, make sure to set it as 'VISIBLE'. Then, you can add it onto a layer with 'SET PATH'. To add a link to another level for a map, choose 'ADD LEVEL' at the bottom left, and place it like a normal object.
Make sure you have at least one level adjacent to others opened by default, or else you won't be able to access any. To set the starting position for the map cursor, choose 'SET SELECTOR' and place this like a normal object, too. The selector does not take up space on any layer. Make sure to place it on a path or a level, otherwise it won't be able to move. Figured out how to access the editor in the first place, and everything else in this guide was from my own experimentation. If you figure out how something in the editor works, I'll credit you here.I can't wait to see what levels people come up with for this game!
Hempuli is planning on releasing a more polished editor, but in the meantime, this is a good substitute for allowing community-made content. If you want, you can post your creations in this guide's comment section for now, until a better way of sharing them is made.
(cont.)a lot of assets appear to be missing from the editor at first because they're in the main world's Graphics folder instead of the game's parent Graphics folder. If you want to use things like cogs, rockets, robots, etc. You'll have to copy the graphics folder overon that note, you can name a custom object whatever you want and have a text object that references it simply by naming the text 'text'. The game will for instance automatically match a text object named 'textbunny' to any object named 'bunny' (and this is not merely a backend thing; when the player brings up the menu in a level they will be able to see the internal names of any objects which have rules applied to them)an object's 'Z LEVEL' determines the order in which it's drawn to the screen. The default Z levels can create some odd-looking effects if you layer objects on top of one-another, so one might consider dropping the z-level of things like grass and brick to a lower number.